Showing posts with label snack. Show all posts

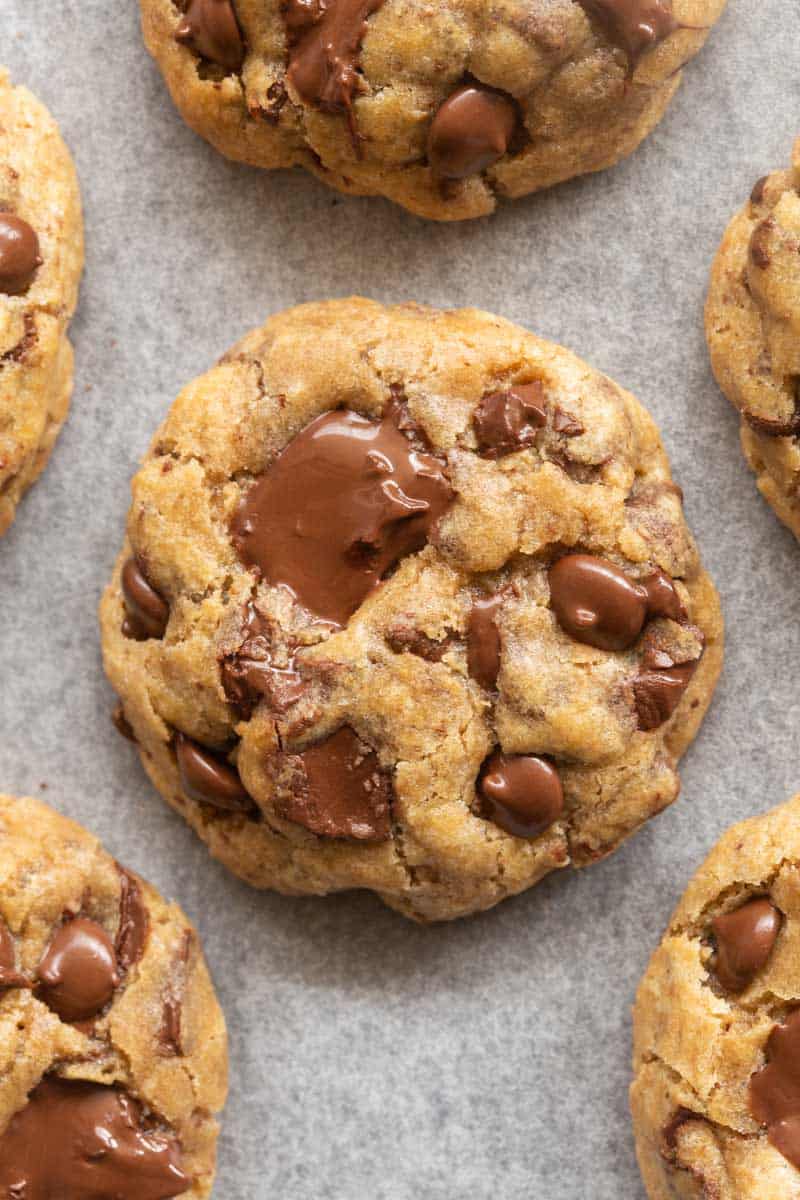
Low Calorie Vegan Cookies


Low Calorie Cookies

These low calorie cookies are soft, chewy, and full of chocolate chips, you won't believe they have less than 100 calories! No eggs, no butter, and no sugar needed, but you'd never tell!
CourseDessert
CuisineAmerican
Prep Time5 minutes
Cook Time10 minutes
Total Time15 minutes
Servings16 Cookies
Calories96kcal
AuthorArman

Ingredients

  • 2 cups white whole wheat flour
  • 2 tsp cornstarch
  • 1/2 tsp baking soda
  • 1 tsp baking powder
  • 1/4 tsp salt
  • 1 cup granulated sweetener of choice * See notes
  • 1/2 cup unsweetened applesauce ** See notes
  • 1/4 cup coconut oil melted
  • 1 tsp vanilla extract
  • 1 cup chocolate chips of choice

Instructions

  • Preheat the oven to 180C/350F. Line a large baking sheet with parchment paper and set aside.
  • In a mixing bowl, add your flour, cornstarch, baking soda, baking powder, and salt, and mix well. In a separate bowl, whisk together the sweetener, applesauce, coconut oil, and vanilla extract, until combined. Gently stir through the dry ingredients until combined. Fold through the chocolate chips. If your cookie dough is too crumbly, add a few tablespoons of liquid to thin out.
  • Form 16 balls of dough and place them onto the lined baking sheet. Bake the cookies for 10-12 minutes, until the edges just go slightly golden.
  • Remove the cookies from the oven and let them cool for 10 minutes, before carefully transferring them to a wire rack to cool completely.

Notes

* I used swerve brown sugar but any granulated sweetener can be used. 
** For more buttery cookies, reduce the applesauce to 6 tablespoons and add 2 tablespoons of coconut oil. 
TO STORE: Cookies will keep at room temperature, covered, for up to 5 days. If you'd like them to keep longer, store them in the refrigerator and they will keep well for up to 2 weeks.
TO FREEZE: Place leftover cookies in a ziplock bag and store them in the freezer for up to 6 months. 

Nutrition

Serving: 1cookie | Calories: 96kcal | Carbohydrates: 15g | Protein: 2g | Fat: 5g | Sodium: 97mg | Potassium: 23mg | Fiber: 2g | Vitamin A: 2IU | Vitamin C: 1mg | Calcium: 25mg | Iron: 1mg | NET CARBS: 13g
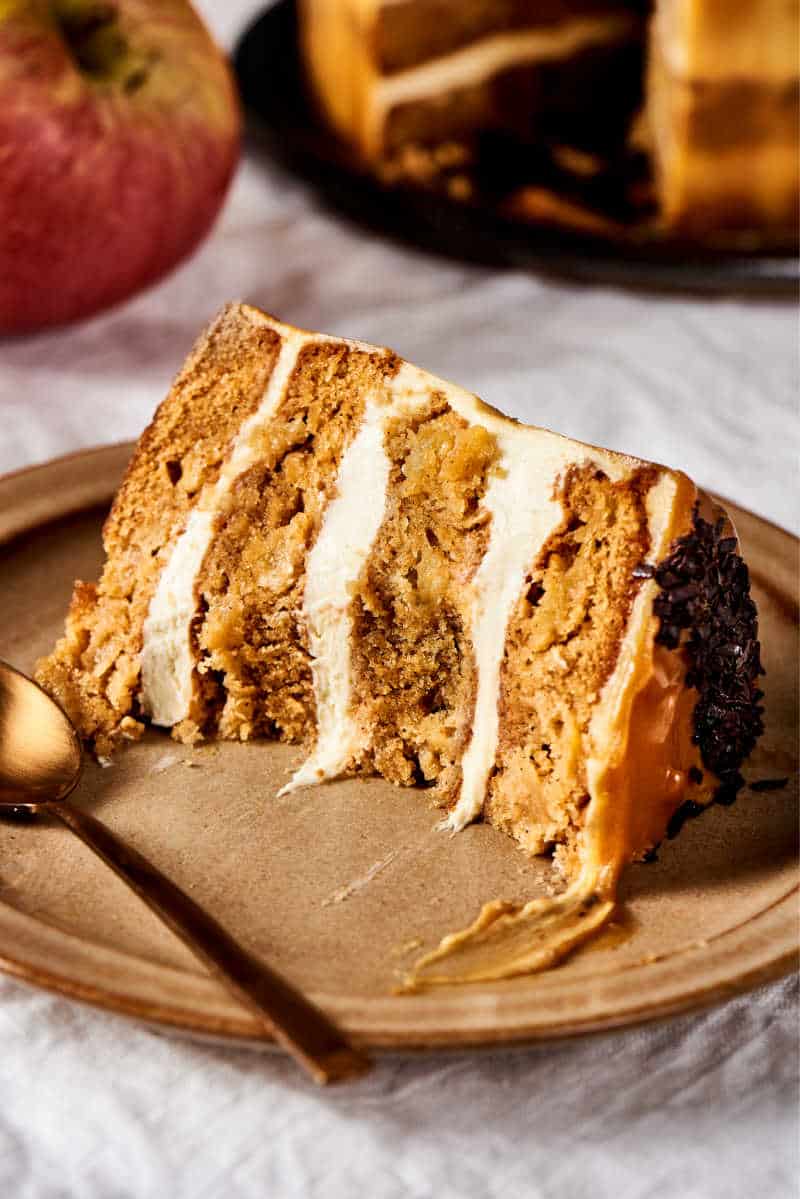
Healthy Vegan Apple Cake


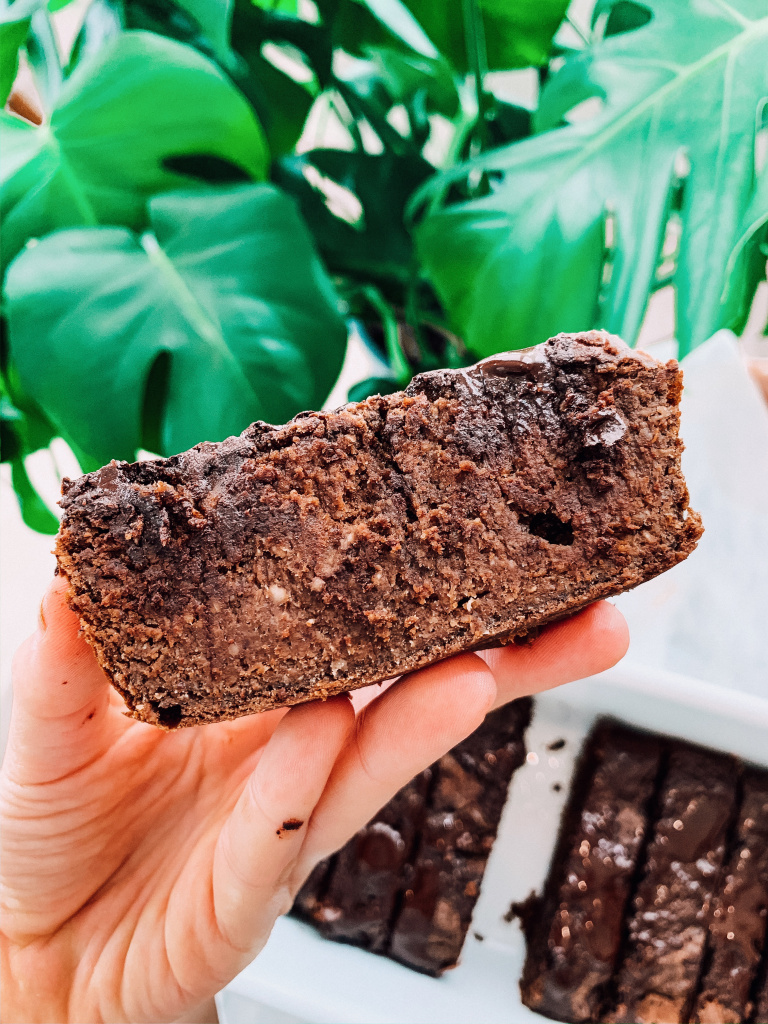
Chunky Brownie Batter Banana Bread Loaf


Cranberry Walnut Quick Bread

SLIGHTLY SWEET CRANBERRY WALNUT QUICK BREAD

Link: http://www.picklesnhoney.com/2011/11/23/cranberry-walnut-quick-bread/

CRANBERRY WALNUT QUICK BREAD
 
PREP TIME
COOK TIME
TOTAL TIME
 
Author: 
Recipe type: Bread
Serves: 1 loaf
INGREDIENTS
  • 1 C. All-Purpose Flour
  • 1 C. Whole Wheat Flour
  • 1½ Tsp. Baking Powder
  • ½ Tsp. Baking Soda
  • 1 C. Non-dairy Milk (I used unsweetened vanilla almond milk)
  • 1 Flax Egg (1 Tbs. ground flax, 3 Tbs. water)
  • ½ C. Granulated Sugar
  • ½ C. Chopped Walnuts
  • 2 C. Fresh Cranberries
  • ½ Tsp. Salt
INSTRUCTIONS
  1. Pre-heat oven to 350 degrees F.
  2. Lightly grease a 9 x 4 inch loaf pan and set aside.
  3. Prepare your flax egg by combining 1 Tbs. ground flax with 3 Tbs. water. Stir and allow to sit for 3-5 minutes, until it has a gel-like consistency (similar to an egg).
  4. In a large bowl, mix together flours, baking powder, baking soda, and salt.
  5. Add the flax egg, non-dairy milk, and sugar. Stir until just combined.
  6. Fold in chopped walnuts and cranberries.
  7. Transfer to greased loaf pan and bake for 50-55 minutes, until golden and a toothpick inserted in the center comes out clean.
NOTES
I intentionally went easy on the sugar in this recipe to create a bread that's only slightly sweet, as I figured I'd be eating my fair share of pie this week. If you're looking to bake a sweeter bread, I recommend using ¾ C. to 1 C. of sugar.   

Healthy No Churn Workout Protein Ice Cream

https://i2.wp.com/thebigmansworld.com/wp-content/uploads/2017/08/post-workout-vanilla-ice-cream-3.jpg?w=680&ssl=1

Healthy No Churn Workout Protein Ice Cream

Healthy No Churn Workout Protein Ice Cream (Paleo, Vegan, Gluten Free) made with just three ingredients. Enjoy this quick and easy blender ice cream either hard scoop or soft serve style. It is also dairy free, low carb and sugar free.

Prep Time 5 minutes
Cook Time 2 minutes
Total Time 7 minutes
Servings 16 servings
Calories 67 kcal


Ingredients

  • 2 14 oz cans coconut milk
  • 1-4 scoops vanilla protein powder 32-34 grams per scoop- See notes
  • 1-2 tbsp granulated sweetener of choice **
  • 1 tsp vanilla extract optional


Instructions

  1. Place a large, deep loaf pan or deep pan in the freezer.
  2. In a blender or food processor, add your coconut milk and blend until smooth and creamy. Add your protein powder and granulated sweetener or dates and blend until a thick and creamy texture remains.
  3. Transfer workout protein ice cream to the loaf pan. To ensure it doesn't become too icy, lightly mix your ice cream ever 20-30 minutes for the first hour.
  4. Thaw for 10-15 minutes before eating. Lightly wet an ice cream scoop before scooping the ice cream into a bowl. 
  5. To enjoy it soft serve style, let it thaw to desired texture.


Recipe Notes

* You can use up to 4 scoops of protein powder in this recipe. If you use more, blend for a longer period of time and consider adding an extra half a can of coconut milk for extra creaminess.
** You can sub this for 1/2 cup Medjool dates.

Chocolate Peanut Butter Nice Cream

chocolate nice cream

Chocolate Peanut Butter Nice Cream

Total Time: 5m
Yield: 2-4 servings
Print This Recipe 5/5
image: http://cdn.grateful.io/logo.svg
Grateful Logo

Ingredients

  • 4 overripe bananas, chopped and frozen
  • 1/4 cup peanut butter, or allergy-friendly sub
  • 1/3 cup cocoa powder
  • optional 1 tbsp dutch cocoa or chocolate protein powder
  • 1/4 tsp pure vanilla extract
  • 1/8 tsp salt

Instructions

Make sure the bananas are at least partially brown before freezing them. Combine all ingredients in a food processor or high-speed blender. Process until completely smooth, adding a little milk of choice if your blender isn’t strong enough to handle the frozen banana. (If you’re not using a high-speed blender like a Vitamix and don’t want to add any liquid, simply thaw the bananas a bit before blending.) Either serve immediately as soft serve, or freeze for up to an hour before scooping out with an ice cream scoop for the classic ice-cream look. This tastes best the day it is made, but you can technically freeze leftovers for up to a few weeks and thaw before serving.

 
*Note: All sugar grams listed in the nutrition label above are from natural sugars from banana. The recipe is sweetened naturally and is completely free of added sugar.
 
Read more at http://chocolatecoveredkatie.com/2017/07/31/chocolate-peanut-butter-nice-cream/#9hQRBPW6T66lJGSf.99

Healthy No Bake Applesauce Brownies

Healthy No Bake Applesauce Brownies (Paleo, Vegan, Gluten Free)- Thick and fudgy raw brownies which are super fudgy and loaded with chocolate! A guilt-free snack or healthy low carb dessert! {V, GF, P, SF recipe}- thebigmansworld.com #applesauce #rawbrownies

Healthy No Bake Applesauce Brownies

Healthy No Bake Applesauce Brownies- Thick and fudgy raw brownies which are completely paleo, vegan, gluten-free and low carb. These no bake brownies are the guilt-free snack or high protein dessert to enjoy!

Course Breakfast, Dessert, Snack
Prep Time 5 minutes
Cook Time 15 minutes
Total Time 20 minutes
Servings 16 servings
Calories 132 kcal


Ingredients

For the no bake brownies

For the frosting


Instructions

  1. Line an 8 x 8 inch or 10 x 8-inch baking pan with parchment paper and set aside. For thicker brownies, opt for the smaller pan. Alternatively, you can use any loaf pan. 
  2. In a large mixing bowl, add your dry ingredients and mix well. In a microwave-safe bowl or stovetop, combine your almond butter with sticky sweetener of choice. Heat until melted.
  3. Pour over the dry mixture and mix until a crumbly texture remains. Add your unsweetened applesauce and mix until a thick batter is formed. If too crumbly, add some milk or liquid to achieve desired texture. Transfer to lined pan and press firmly in place. Refrigerate. 
  4. While no bake brownies are firming up, prepare your frosting of choice (protein frosting, coconut ganache or melting your favorite chocolate bar). Pour frosting over the raw brownies and refrigerate until firm. Once firm, cut into bars. 


Recipe Notes

Protein powder is optional- If you do use it, you may need an extra tablespoon or two of applesauce and/or milk of choice.
No Bake Applesauce Brownies should be kept refrigerated but can be frozen. For fudgier, gooey brownies, enjoy at room temperature.

copyright © . all rights reserved. designed by Color and Code

grid layout coding by helpblogger.com